I finished Caleb's tallit earlier today. I apologize in advance for the number of photos of this tallit.
Caleb's tallit has two big themes. The first is the pillars of fire and cloud that lead B'nai Yisrael through the desert. The other big theme is the character of Caleb himself who makes an appearance in his Torah portion. Below is a back view of the tallit with the sides folded up over the shoulders.
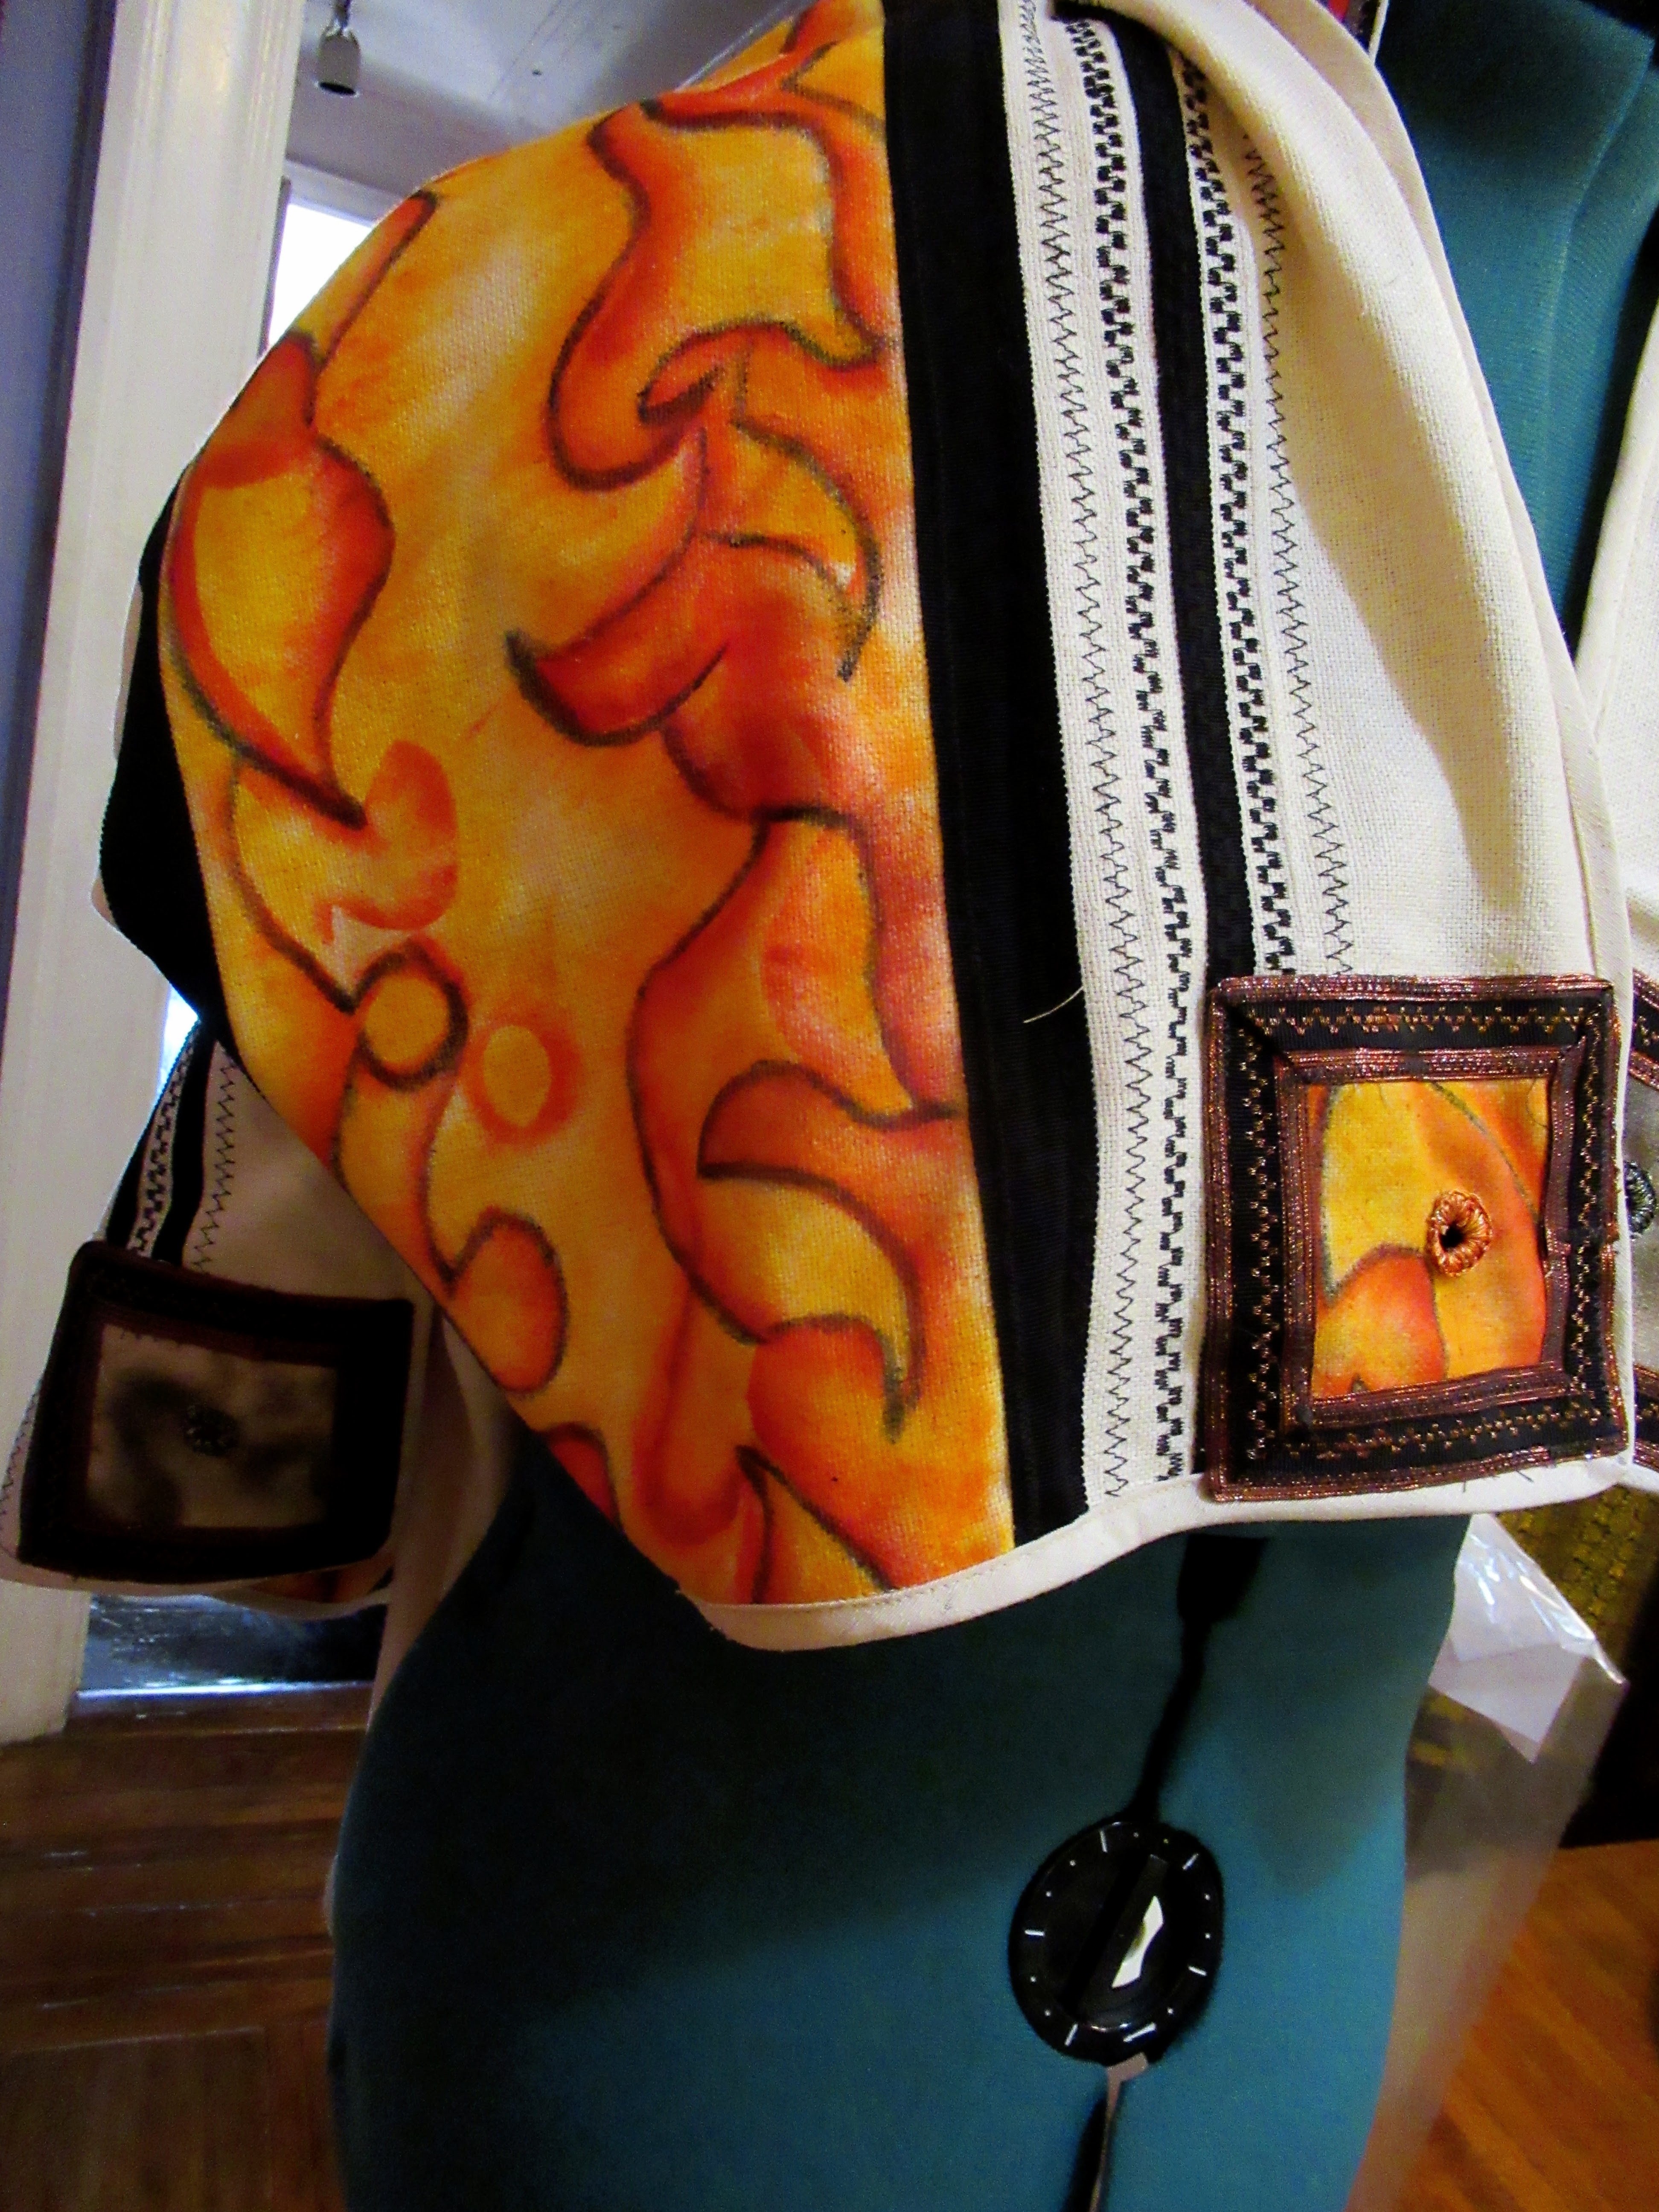
Here you see a side view of the tallit on the pillar of fire side.
The frame around the corner piece (pinah) made up of copper metallic ribbon (fire) overlaid with black Petersham ribbon (cloud) that has been embroidered with gold metallic thread (fire). I am so happy with how the black ribbon and embroidery stripes just feel so much like a traditional woven tallit.
Here you can see the front view with both the cloud and fire at the same time.
Below you see some photos of the cloud side of the tallit.
And now the fire side.
In case you don't obsessively memorize every blog post I write---(Even I don't do that---I am not a crazy person and I assume that you aren't either.)

this is Caleb's sketch for the tallit.
While I loved this as a springboard there were some pieces of this sketch that were a little problematic. The first was the placement of the stripes. We ditched the stripes at the bottom and moved the cloud and fire elements a bit closer to the center of the tallit. I didn't want to risk drawing or painting directly on the main fabric of the tallit because that method gives you no margin for error. If you mess up, the entire piece of fabric needs to be tossed. That is an expensive error. I have been known to make errors. Additionally, you are also left with a less than beautiful reverse side of the fabric. So I applied the color from the oil paint sticks onto smaller strips of silk that I then appliqued onto the base silk.
Caleb also added thorn vines at both the top and the bottom, of the tallit because he wanted to acknowledge the struggles of the Children of Israel. That imagery of thorns is just so strongly Christian crown of thorns), I was really uncomfortable using it on a tallit. After a bit of conversation, Caleb was willing to give up the thorns.
It matters to me as a tallit maker that as non-traditional a tallit may be, that it still "read" as a tallit. That is why I added the blocks of ribbon and embroidery stripes. (Actually, those lines of stitching and ribbons are also functional. many of those lines of stitches are the reverse of the stitching that holds down the painted strips of silk.
One of the really striking things about Caleb in the Bible is that when the spies travel into the land of Israel ten of them are overwhelmed by the task ahead of the Children of Israel to conquer the land. Caleb responds to their anxieties by saying כי יכל נוכל לה, We can do it. Caleb loved having this on his atara. (Another Caleb-related verse is on the tallit bag which isn't pictured in this post)
I taped two pencils together and drafted the letters and then cut them out using an x-acto knife.
I filled in the letters using oil paint sticks in colors that started as fire and ended up as cloud colors. I stipple painted the background to evoke the sky.
Then I appliqued a square of fire and a square of cloud at either end of the atara. I covered the seams with the same ribbon I had constructed to edge the corner pieces.
I also needed to create an edging for the atara. I wanted to use fire and cloud colors.
I stitched a grey grosgrain ribbon to the black Petersham with a gold thread and a decorative stitch. I topped the grey ribbon with a narrow red satin ribbon ( left over from the Torah mantle) stitched down with a utility stitch in orange.
This is the whole fire/cloud theme in ribbon form.

My original thought was to keep the palette of colors in this tallit very controlled and tight...just the blacks the reds and the greys.
The tallit looked pretty great without the atara. The colorful atara just punched everything up several notches.
I suppose that I could lie and say that this was my brilliant plan all along
Every time a spur-of-the-moment decision makes a piece much better I am grateful that I sew every stitch of my work and don't farm it out to other people.
All that was left was making the eyelets.
I mark the placement with a blunt side of a piece of chalk.
When you cut the hole cut from the outer border to the center rather than the other way around. If you cut going the other way you might end up slipping and cutting a much bigger hole than you were anticipating.
I wanted the threads I used to stitch around the eyelets to echo the theme a bit more.
Using multiple strands of thread allows you to customize the final color.
Caleb and his mom come by on Sunday to tie tzitzit and to pick up the tallit.
Since you asked, there is a bag. I am not posting photos of it to leave it as a surprise for Caleb.


 this is Caleb's sketch for the tallit.


What a magnificent job you did! This has to be your most beautiful creation yet! Thank you for sharing so many photos. Yasher koach!
ReplyDeleteWow! You and your talent are amazing!
ReplyDelete