
Threading needles

 My last post created a bit of a conversation. My friend Nancy was impressed with the shrug I had made and mentioned that she couldn't even thread a needle. I told Nancy that I could teach her how to thread a needle in a way that doesn't require the best vision. Ronna then asked that I give her a tutorial...so here it is.

I learned this method of threading needles from a needlepoint book when I was a kid. As you can imagine, threading a needle with yarn is not the easiest task. Once I learned this method I no longer wet the end of a thread with saliva and hope for the best. My eyes are no longer what they were when I was eleven or twelve and this method has worked for me even when I am due for a new prescription on my eyeglasses.  

Some of the photos in this tutorial were taken by me as I was threading needles ( Yes, it is tricky to be both threading needles and taking photos of the process.)and some were taken by my husband so some of the thread is black and some is white. 


It has taken me much longer to assemble these pictures and think about how to write this tutorial than it does to thread a needle. If you need any clarification just ask.

1.

Wrap your thread around the outside of the needle.  You don't have to wrap anywhere near the eye.


2. Pinch the thread tightly around the needle using your thumb and your index finger.


3. I don't have an action photo of the next stage. Keeping your finger and thumb still pinching the thread, slide the needle out.


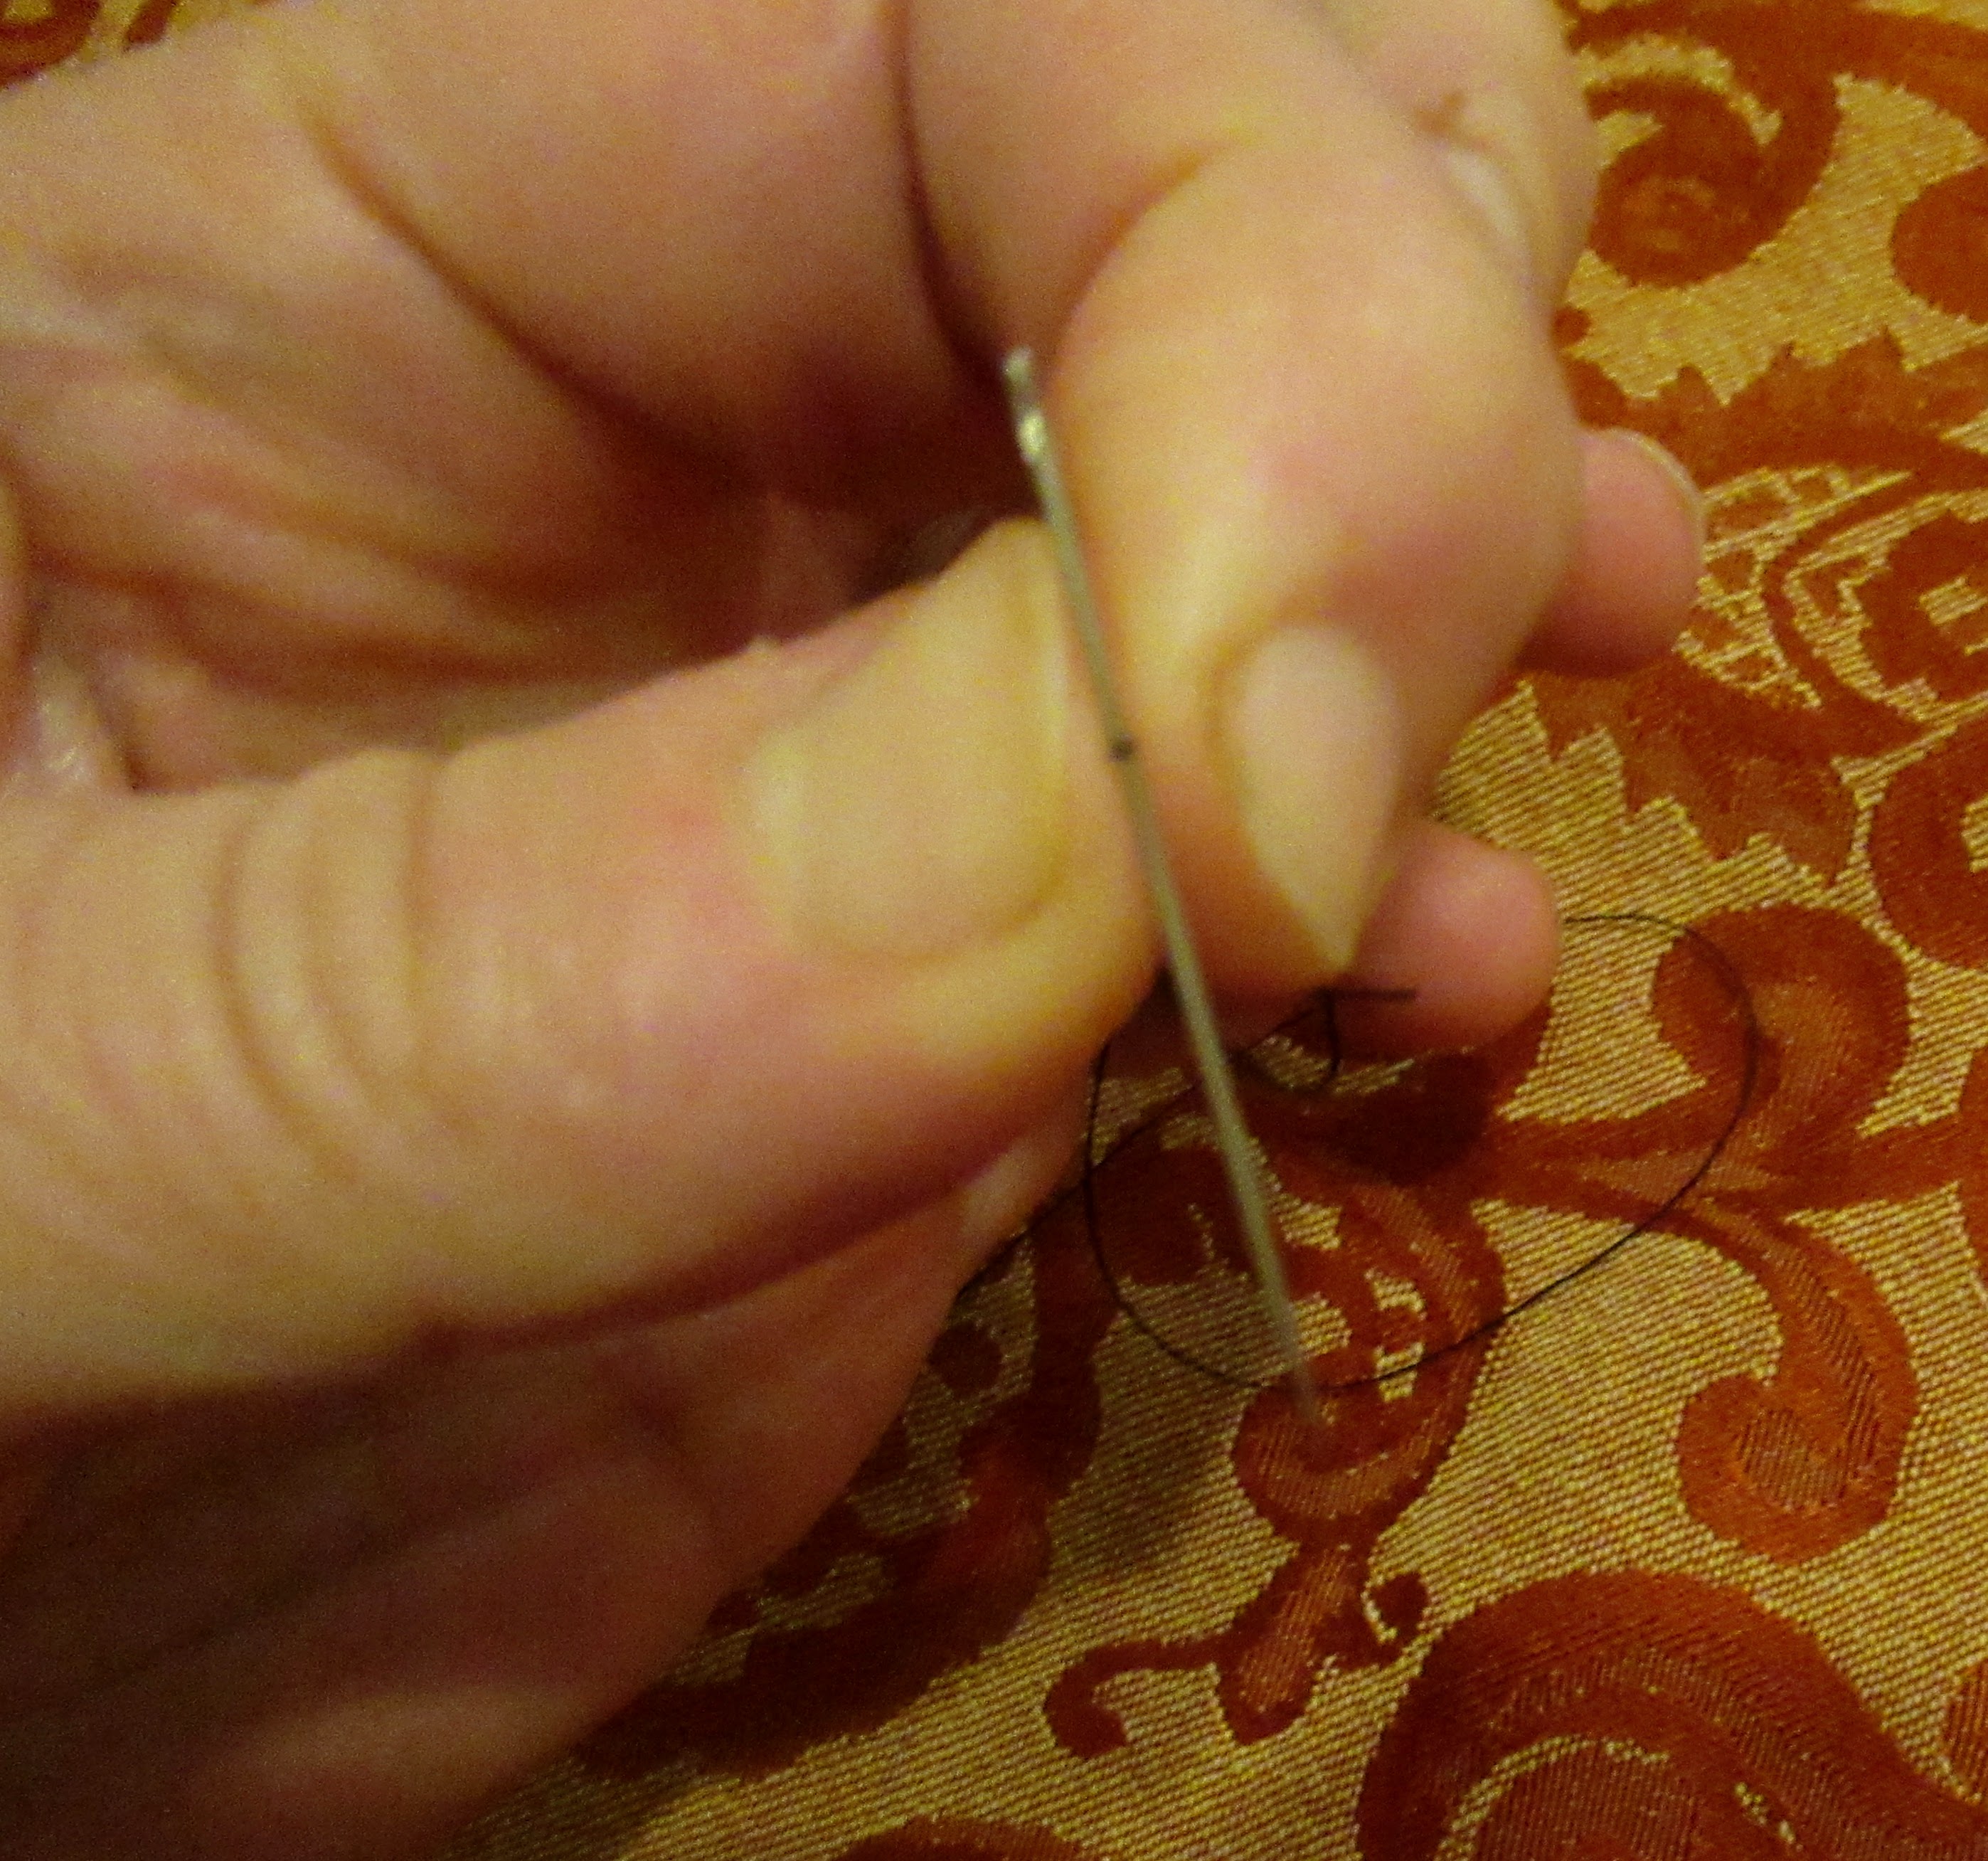
4. You will see a teeny little nub of thread between your thumb and index finger. (in the photo below it is white)


5. Put the eye of the needle over that teeny nub of thread. Below is an action shot with my needle getting into position.


and then put needle eye over the thread.


6.Push the eye of the needle into the thread...and for reasons, I don't understand, a loop of thread pushes right through eye of the needle and your needle is threaded.


I have been using this method quite a bit in the last few days as I have been doing a fair amount of hand stitching.


I am working on assembling Linda's tallit. The tallit itself is made out of one layer of fabric. The stripes are two-layered, black on one side and white on the reverse. It took me a while to figure out how to create a clean join on both sides of the fabric. My solution, figured out in a dream was to stitch each side separately to the main body of the tallit The seams will be covered in ribbon that I have block printed.


I know, it is really, really pretty.


But back to tallit assembly.  Another problem I discovered was that although I had carefully measured each strip and carefully cut them to the correct size when I finished the edges with the serger (which both cuts and wraps the raw edge with thread--this is an essential step because the silk I am using will shred if the cut edge is not serged) the serger does not cut in an exact line. (Grrr!)


So I was left with panels that didn't exactly line up.

The white panel is a smidge longer than the black. Another problem to solve.

My solution was to hand stitch each side to the main body of the tallit.  Tiny hand stitching is nearly invisible
 

The hand stitching had an unexpected benefit. Machine-stitching can create a stiff seam because so much thread is used to create stitches. I am finding that the join between the stripe section of the tallit and the main body of the tallit has a lovely flexible drape. 

I suppose my life would be less complicated if I had two or three basic tallit designs and called it a day. Creating each tallit new with each client often throws up technical issues that take a fair amount of thinking to figure out. The complicated bits are what keeps me excited about doing this work.


Comments

Popular posts from this blog

Connecting with the past

A few months ago I had a craving for my father’s chicken fricassee.  If my father were still alive I would have called him up and he would have talked me through the process of making it.    My father is no longer alive so I turned to my cookbooks and the recipes I found for chicken fricassee were nothing at all like the stew of chicken necks, gizzards and wings in a watery sweet and sour tomato sauce that I enjoyed as a kid.  I assumed that the dish was an invention of my father’s. I then attempted to replicate the dish from my memory of it and failed.   A couple of weeks ago I saw an article on the internet, and I can’t remember where, that talked about Jewish fricassee  and it sounded an awful lot like the dish I was hankering after. This afternoon I went to the butcher and picked up all of the chicken elements of the dish, a couple of packages each of wings, necks and gizzards. My father never cooked directly from a cook book. He used to re...

The light themed tallit has been shipped!!!

 I had begun speaking to Sarah about making her a tallit in the middle of August. It took a few weeks to nail down the design. For Sarah it would have been ideal if the tallit were completed in time for her to wear it on Rosh HaShanah., the beginning of her year as senior rabbi of her congregation. For me, in an ideal world, given the realities of preparing for the High Holidays I would have finished this tallit in the weeks after Sukkot. So we compromised and I shipped off the tallit last night.  I would have prefered to have more time but I got the job done in time. This tallit was made to mark Sarah's rise to the position of senior rabbi but it was also a reaction to this year of darkness. She chose a selection of verses about light to be part of her tallit. 1)  אֵל נוֹרָא עֲלִילָה  God of awesome deeds ( from a yom kippur Liturgical poem) 2)  אוֹר חָדָשׁ עַל־צִיּוֹן תָּאִיר   May You shine a new light on Zion ( from the liturgy) 3)  יָאֵר יְהֹ...

A Passover loss

 My parents bought this tablecloth during their 1955 visit to Israel. It is made out of  linen from the first post 1948 flax harvest. The linen is heavy and almost crude. The embroidery is very fine. We used this cloth every Passover until the center wore thin.  You can see the cloth on the table in the background of this photo of my parents and nephew My Aunt Sheva bought my mother a replacement cloth. The replacement cloth is made out of a cotton poly blend. The embroidery is crude and the colors not nearly as nice. The old cloth hung in our basement. We used the new cloth and remembered the much nicer original cloth. I loved that my aunt wanted to replace the cloth, I just hated the replacement because it was so much less than while evoking the beauty of the original. After my father died my mother sat me down and with great ceremony gave me all of her best tablecloths. She also gave me the worn Passover cloth and suggested that I could mend it. I did. Year after year ...